Table of Contents
Get your rubber gloves and your can-do spirit, we’re about to give you the rundown on cleaning that all-important piece of baby equipment – Dr. Brown’s Bottle Warmer. We’re going to break it down, not just so you can clean it, but so you can clean it efficiently.
It’s important to note that your warming basket is even dishwasher-safe, so you don’t need to sweat muscle over it. Some parts like the reservoir and warming basket are removable, so you can give them a good soak and scrub. Others, just a simple wipe down will do. Then there’s the drying – air dry folks, air dry. It’s the slow and steady that wins the cleanliness race. With a bit of routine and diligence, we guarantee your bottle warmer will outshine the rest.
Understanding the Dr. Brown’s Bottle Warmer
Before we dive into the cleaning, you might be asking yourself, what exactly is Dr. Brown’s Bottle Warmer? Well, it’s a nifty device to make life a little easier for those with a lil’ one. It’s programmed to warm up that liquid gold (baby formula or breast milk) to the right temperature, because no one likes drinking cold milk, especially not those new recruits to the world.
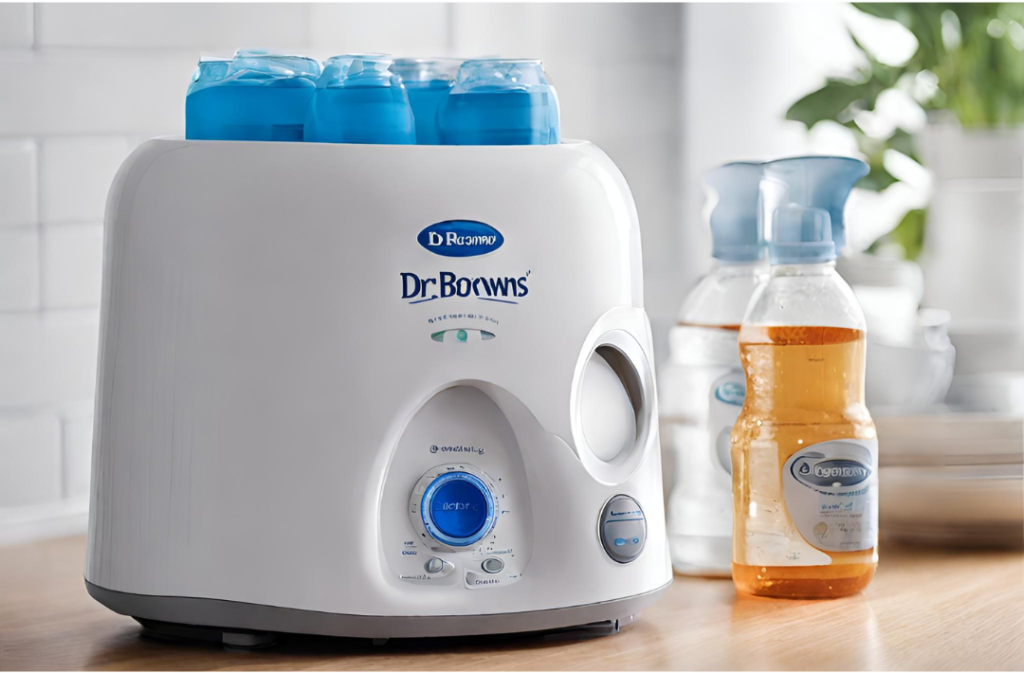
Dr. Brown’s Bottle Warmer is like a pocket-size microwave specially designed for baby bottles. It’s got a translucent water reservoir to let you know when you need to refill, and a warming basket tailored to hold baby bottles snug and secure.
Benefits of Using Dr. Brown’s Bottle Warmer
Let’s get something straight here, my friends – using Dr. Brown’s Bottle Warmer ain’t just a walk in the park, it’s a proper joyride. The quick and even heating without any hotspots removes all your bottle-warming blues in a snap.
No more failed attempts to eradicate a weird smell emanating from the bottle. The risk of bacteria and mold? Blown away! If it were a desert cowboy, it’d be the sharp-shooter hot on the heels of harmful microbes. Its safety features are tighter than a drum, with an auto shut-off that won’t let the milk overheat, saving every precious drop. Are you feeling me?
Types of Dr. Brown’s Bottle Warmers
When it comes to Dr. Brown’s, it ain’t just a ‘one-size-fits-all’ game. There’s the Deluxe Bottle Warmer with its big translucent water reservoir, making it perfect for nighttime feedings. Even in the dimmest light, you can see exactly what’s going down. Then we have the MilkSPA – more high-tech than a sci-fi movie. It uses a gentle water bath to warm breast milk, keeping nutrients intact like a nutrient-obsessed superhero.
And let’s not forget our little buddy, the Travel Bottle Warmer, that’s more portable than a pocket watch, perfect for trips or a kitchen a few weeks away from home. Each type has its own special superpowers, all aimed at making our lives easier.
Diverse Usage of Dr. Brown’s Bottle Warmer
Dr. Brown’s Bottle Warmer ain’t just a one-trick pony. This contraption can handle a variety of bottles, from glass to silicone, all depending on your kiddo’s preferences. Heck, you can even warm up a baby food jar or two if you want! Just need to plug in the bottle warmer, fill the reservoir with warm water, put the bottle or jar in the basket, and you’re good to go. Why, it’s as versatile as a multi-tool – a lifesaver in the concrete jungle of childcare.
How to Use the Dr. Brown’s Bottle Warmer
Step right up and see how easy it is to use Dr. Brown’s Bottle Warmer. First, clean Dr. Brown’s bottle warmer every 4 weeks or so, using some mild dish soap, a cloth or sponge, and some elbow grease.
Once it’s squeaky clean, plug in the bottle warmer and fill the reservoir with warm water. Pop the bottle in the basket, adjust the timer depending on the milk volume and bottle type. Once the light turns off, voila! The bottle’s ready! But hey, don’t forget to let it cool for a few – don’t want to burn those little lips.
How Long to Heat a Bottle in a Dr. Brown’s Bottle Warmer?
What’s the time, Mr. Wolf? Well, the time to heat a bottle in a Dr. Brown’s warmer depends upon a few factors. Keep in mind the volume of milk, the bottle material, and the temperature of the milk when you start. For glass bottles at room temperature, you might heat an 8.5 oz. bottle for around 3 minutes. Got only 2 oz. of refrigerated milk in a plastic bottle? Aim for about 3-4 minutes. But remember, every baby has their Goldilocks zone, so you might need to play around within these times to find the “just right” for your little one.
Knowing When to Clean Dr. Brown’s Bottle Warmer
Dr. Brown’s Bottle Warmer, much like your spaghetti-splattered kitchen, needs frequent cleaning. Once a week, roll up those sleeves and deep-clean that warmer, ensuring it’s free from gunk and junk. Keep your eyes peeled for residue build-up or any weird smells–those are your cues to clean the Dr. Brown’s Bottle Warmer. Schedule a detailed cleaning every 4 weeks or after every baby’s party when the use hits an all-time high.
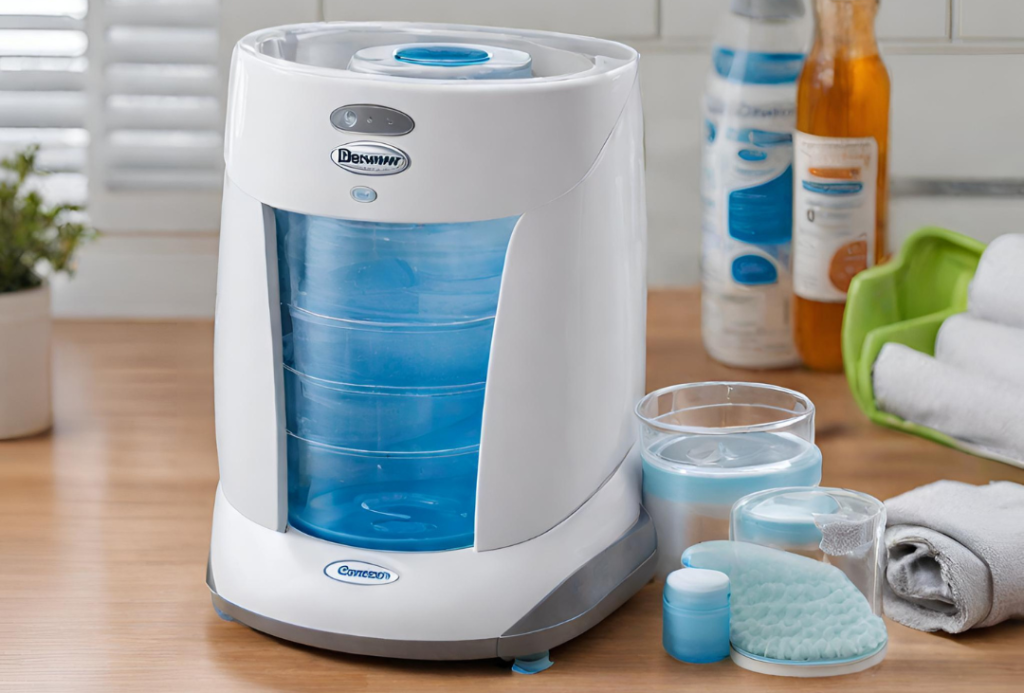
How to Clean Dr. Brown Bottle Warmer
Unplug the warmer first, can’t risk an electrical shock, folks. Remove the warmer’s reservoir and warming basket. The basket is even dishwasher-safe, but you can always choose to wash the basket by hand. Rinse the reservoir with warm water, fill it with a tablespoon of uncooked rice, non-instant rice, by the way, a drop of dish-washing soap, followed by 15-30 seconds of rigorous shaking. And voila! Your Dr. Brown’s Bottle Warmer is sparkling clean once again.
Necessity of Performing Routine Cleaning

Let’s spell this out – Routine Cleaning is not just wiping the warmer with a cloth or sponge, it’s about dismantling it, scrubbing it clean, mincing no corners. We let it air dry before we reassemble the bottle warmer, because water droplets could create a risk of electrical hazards. Yep, you heard it right, water and electrical appliances just don’t mix. Once you’ve given it a thorough clean, then you get your squeaky clean warmer back to shape and shiny for the next feed!
Need for Descaling the Warmer
Vinegar, mixed with water in a 1:4 ratio, is all you need. Pour it into the warming chamber, let it sit for 30 minutes, then thoroughly rinse the chamber and reservoir. And then, presto! Your bottle warmer is good as new!
Recognizing Common Issues
A couple of common snags can pop up, throwing a spanner in the works. If your little contraption isn’t firing on all cylinders, meaning it’s not heating up, you might want to check the power cord. This is like the lifeline for the warmer – no power, no warmth. Ensure it’s snug as a bug both in the electric outlet and the bottle warmer.
If this checks out, your heating element might be wearing the dunce cap. To confirm, crack open the unit from the bottom and do a multimeter test on the heating element. If there’s no continuity, the element will have to tip its hat and make way for a new one – kinda like the old king making way for the new one.
Detailed FAQ About Dr. Brown’s Bottle Warmer
Moving on, let’s sift through a bunch of burning questions you might have about Dr. Brown’s Bottle Warmer, which often feel like unraveling a mystery akin to Sudoku. So, let’s kick things off, shall we?

Hi, I’m Emily, a dedicated blogger and expert in infant nourishment and care. Parenthood is a beautiful journey, but it can be overwhelming. My mission is to make it easier for you. I’m here to share my knowledge, offer guidance, and provide nurturing advice as you navigate the world of baby care.


